
-
- Scopri di più
-
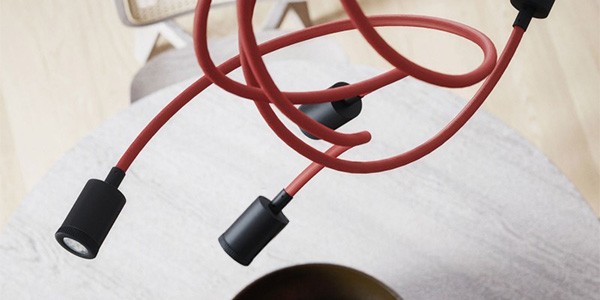
- Vertigo cables
 Glossy Blue Regimental Vertigo Textile... N° of cores-2x0.752,78 € 3,70 € -25%Reduced price!In Stock
- Cavi vertigo
- Categories
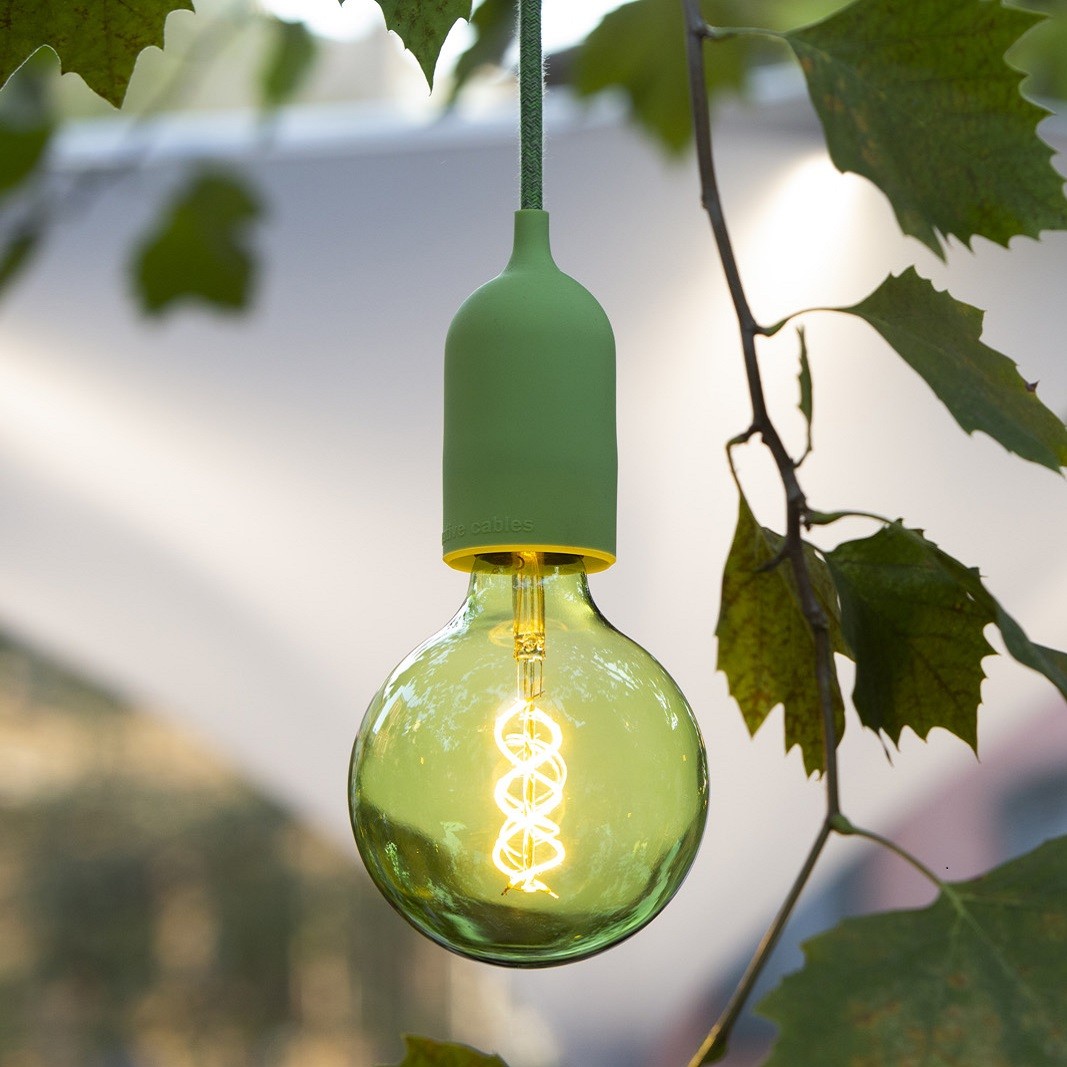
- Plumen
- Scopri di più
- Categories
- Scopri di più...
- Categories
- Wooden ceiling rosettes
- Scopri di più
-
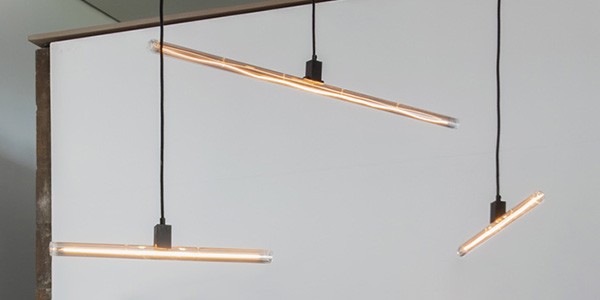
- Cavi Tubes


")


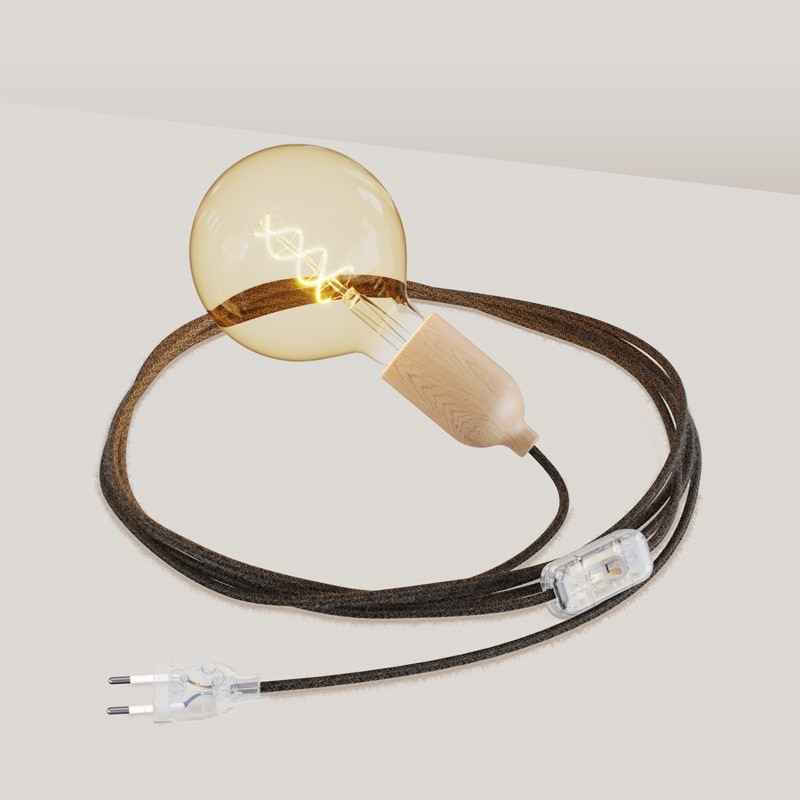
Tutorial #3 - How to connect the plug!
Here we are at our third Tutorial! After learning how to peel our fabric cables and, after that, how to connect a lampholder, today we’re going to focus on connecting the plug: a simple and fast task, which is why it’s worth learning to do yourself, thus saving the time and money it takes to call an electrician!
First of all, let’s specify that there are two types of plugs. We’ll be focusing on the European two-pin plug, which is used in many electric devices across most of Europe. These plugs are ungrounded, so they are fit to be used with our 2x0.75 electric cables. Furthermore, it is not polarized, thus may be connected both ways with no problems, and plugged in.
What you’ll need to connect the plug is very basic: a manual screw driver, possibly with an insulating handle! Be sure to complete the entire task with no electric current, for maximum safety.
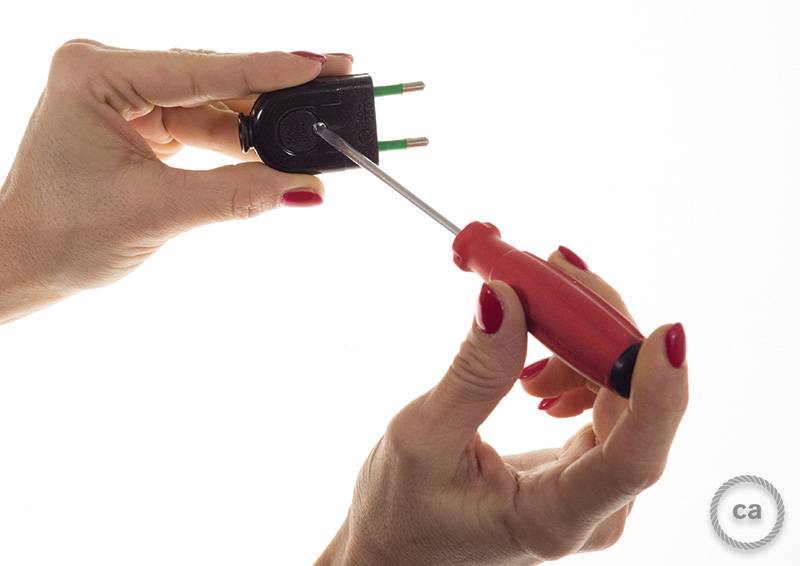
To begin, disassamble the plug by unscrewing the outer screw and, once it’s open, remove the internal cable retainer, which is held in place by two screws. This is to protect the plug from tugs and jerks, keeping it intact.
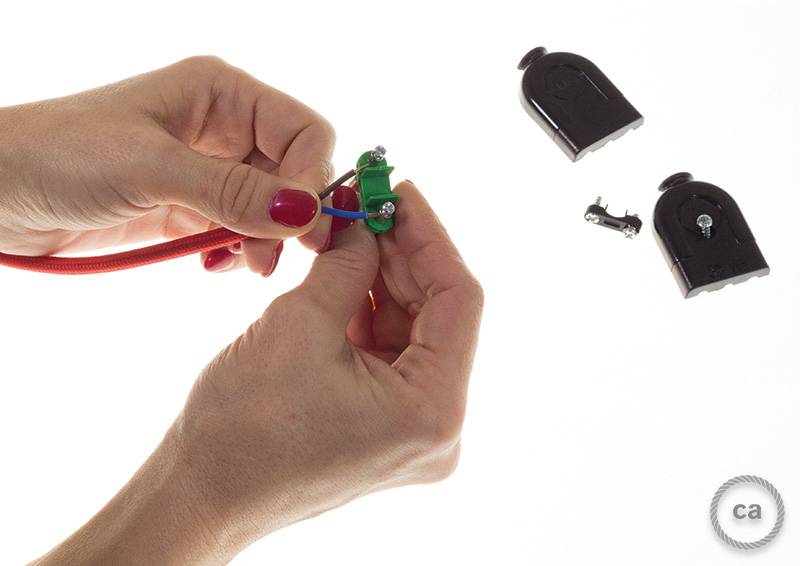
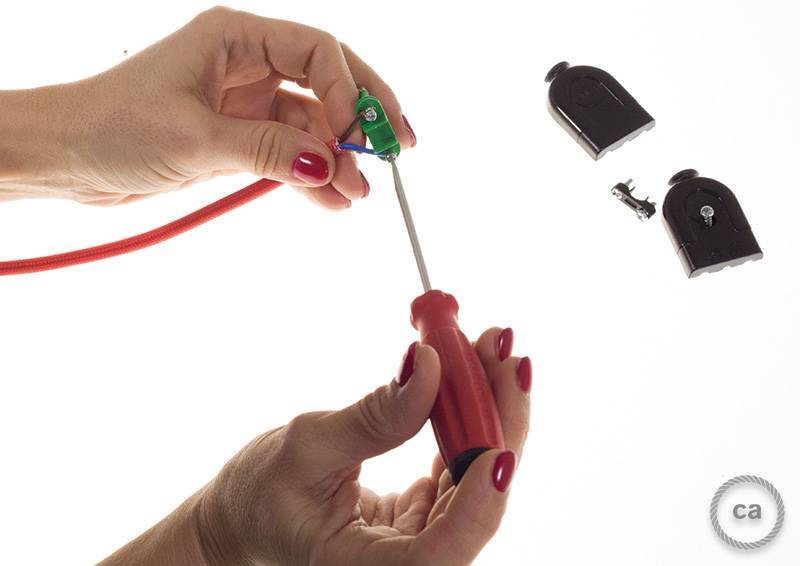
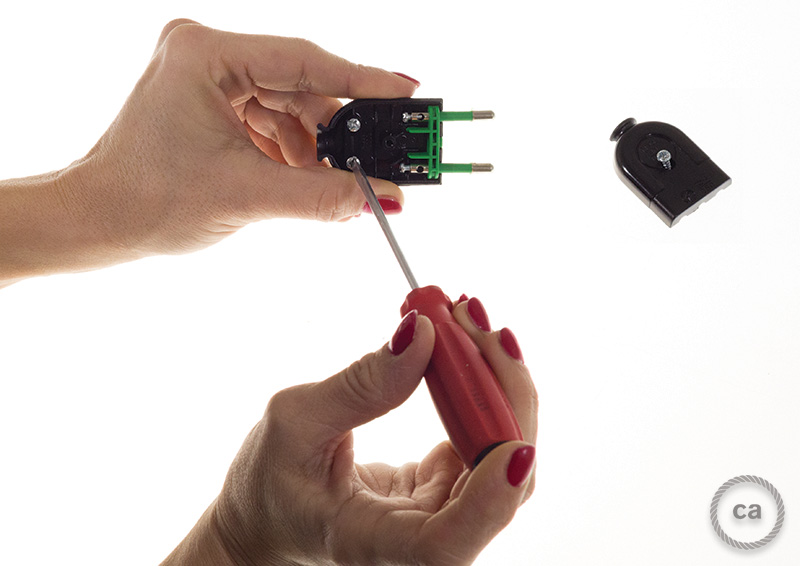
Remove the compartment of the electric cables (shown in green, in the photo) from the inside of the plug and loosen the screws on the clamps. Once you’ve done this, it’s time to insert your previously peeled cables: if you don’t know how to do this, just read our handy tutorial!
Once you’ve inserted the cables in the proper clamps, refasten the clamps and reposition the comportment in the body of the plug.
Once you’ve inserted the cables in the proper clamps, refasten the clamps and reposition the comportment in the body of the plug.
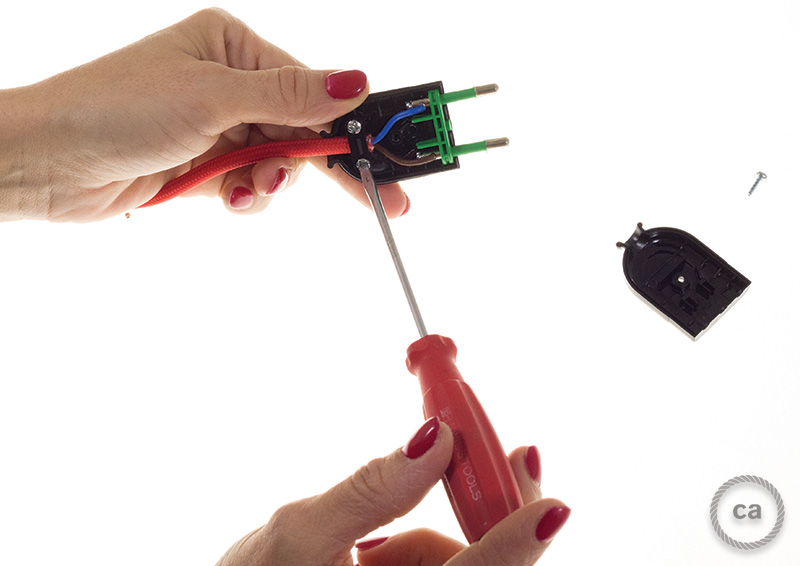
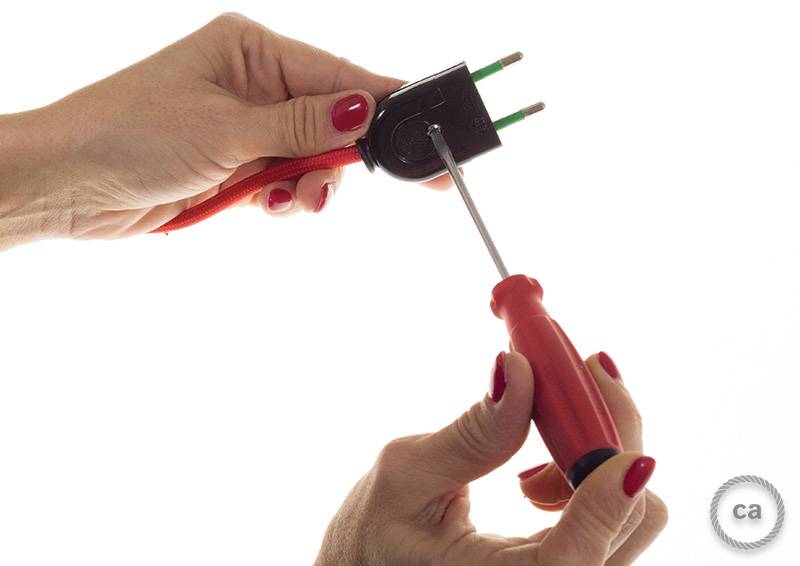
You’ve almost finished, all you have to do is put it back together! Close the internal cable retainer by rescrewing the outer screws that connect it to the plug body. Make sure that the band applies pressure to a part of the cable that hasn’t been peeled, for more stability! Last, reposition the body of the plug and screw in the outer screw. All done: you’ve just connected your electric plug!
Is everything clear? Were you successful or did you have any problems? Let us know in the comments and, as always, tell us what tutorials you’d like to see in the future!
Is everything clear? Were you successful or did you have any problems? Let us know in the comments and, as always, tell us what tutorials you’d like to see in the future!
