
-
- Scopri di più
-
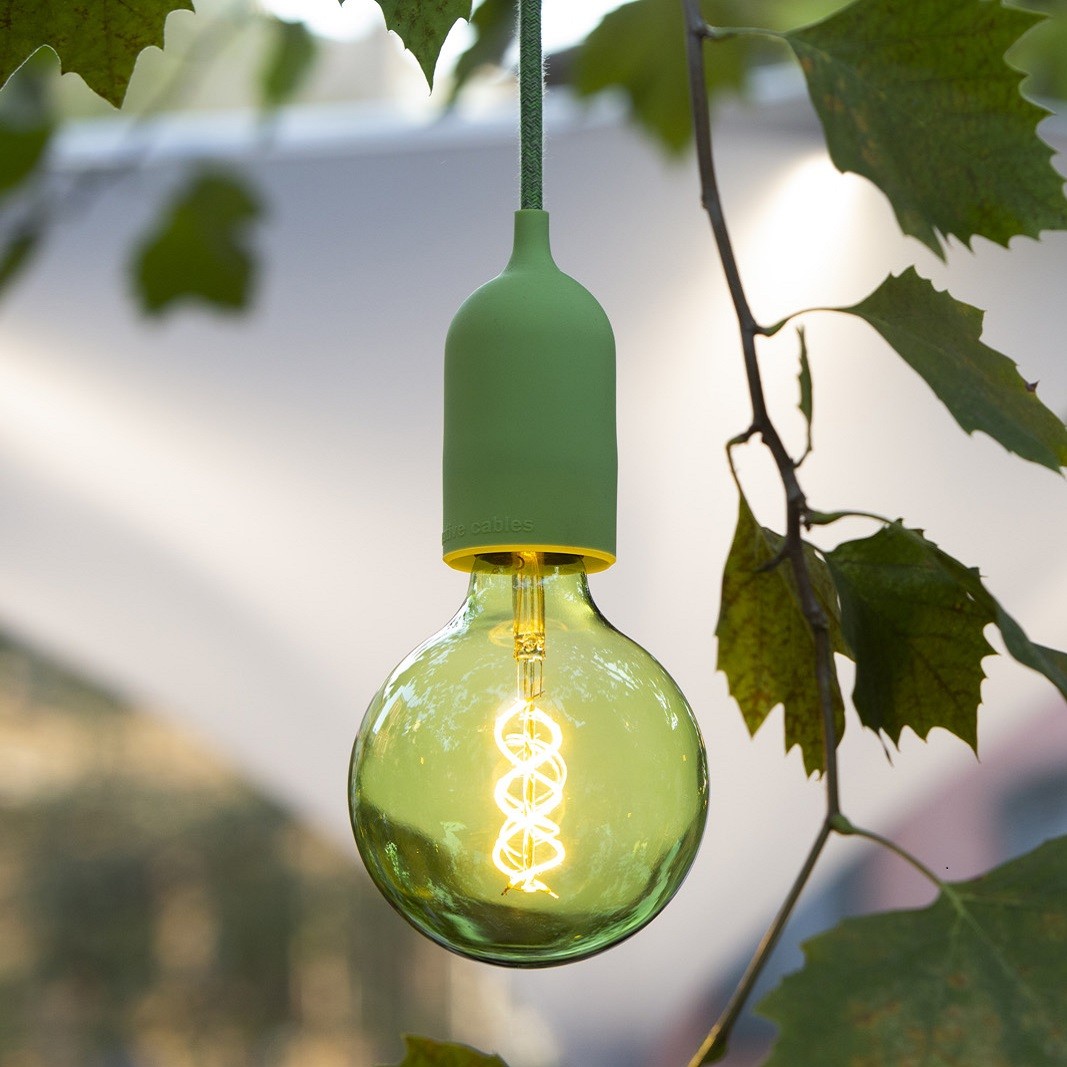
- Vertigo cables
 Glossy Blue Regimental Vertigo Textile... N° of cores-2x0.752,78 € 3,70 € -25%Reduced price!In Stock
- Cavi vertigo
- Categories
- Plumen
- Scopri di più
- Categories
- Scopri di più...
- Categories
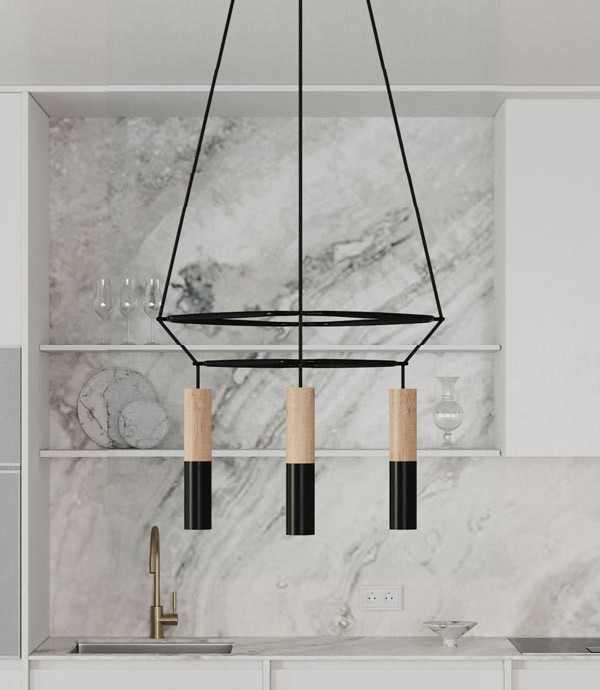
- Wooden ceiling rosettes
- Scopri di più
-
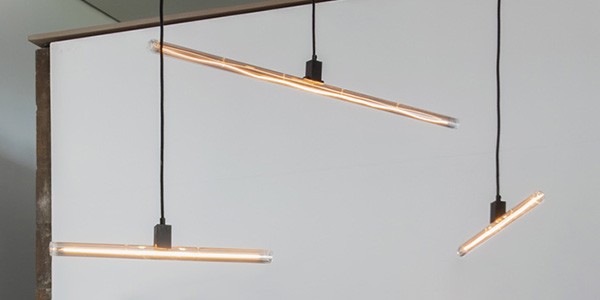
- Cavi Tubes


")


Tutorial #5 – How to mount the metal lampholder
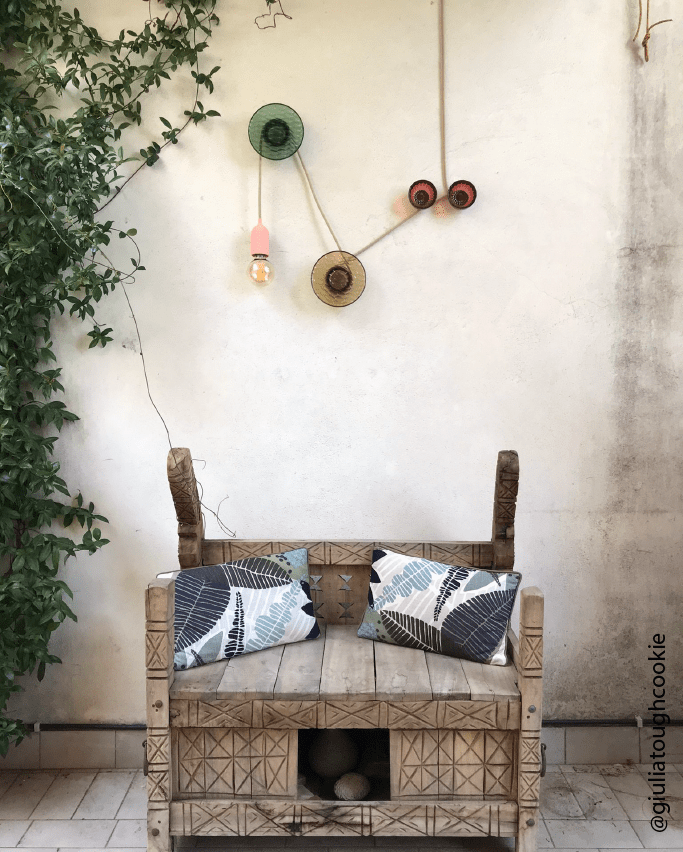
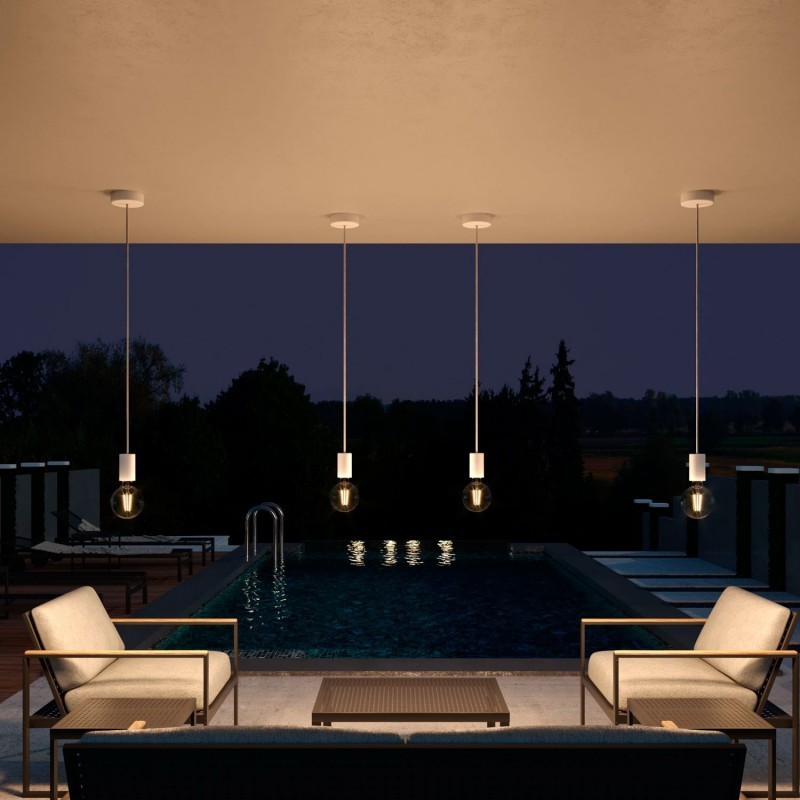
In the Creative-Cables catalogue there are more than 150 different models of fabric lighting cables, available in various shapes, materials and, above all, in all sorts of colours! However, to create lamps and lighting designs that are truly unique and creative, we are also dedicated to all the components that, together with the cable, make up your lamp. That's why on our site you can find more than 120 different lampholders. Find what your favourite, or the one that best matches your cables!
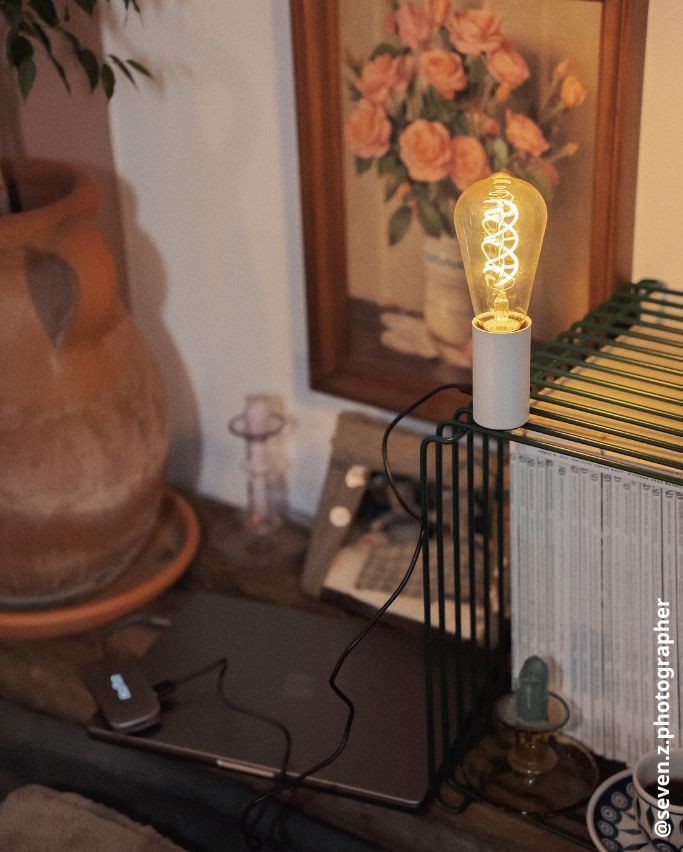
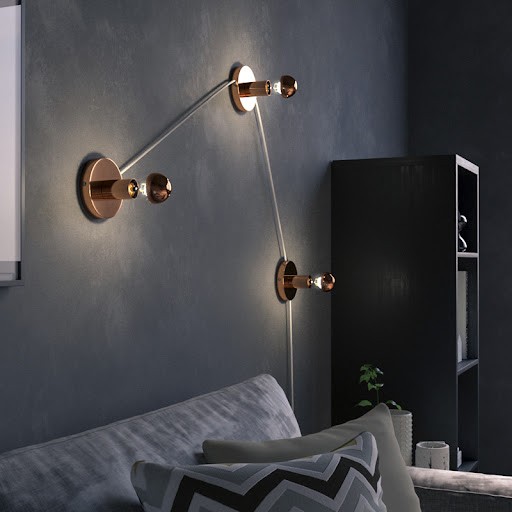
Just like our cables, our lampholder kits are available in a wide variety of colours and materials: from classic ceramic to colourful silicone models, from Scandinavian wood to simple thermoplastic. The latter are particularly significant, as many kits are made up of an external object, and matched with an internal lamp holder of this kind. Understanding how to put together this type of lampholder is therefore important because it is a process that we can then apply to many different kits!
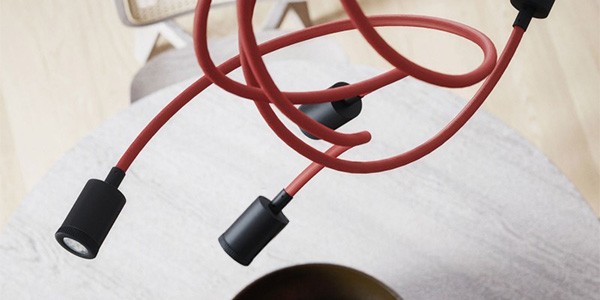
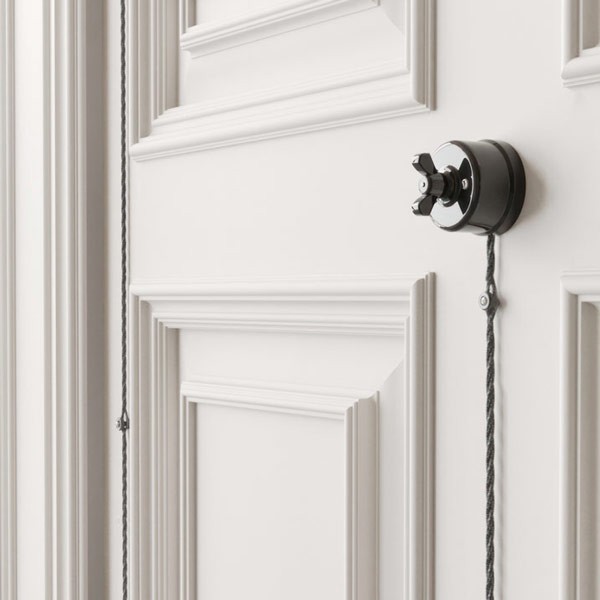
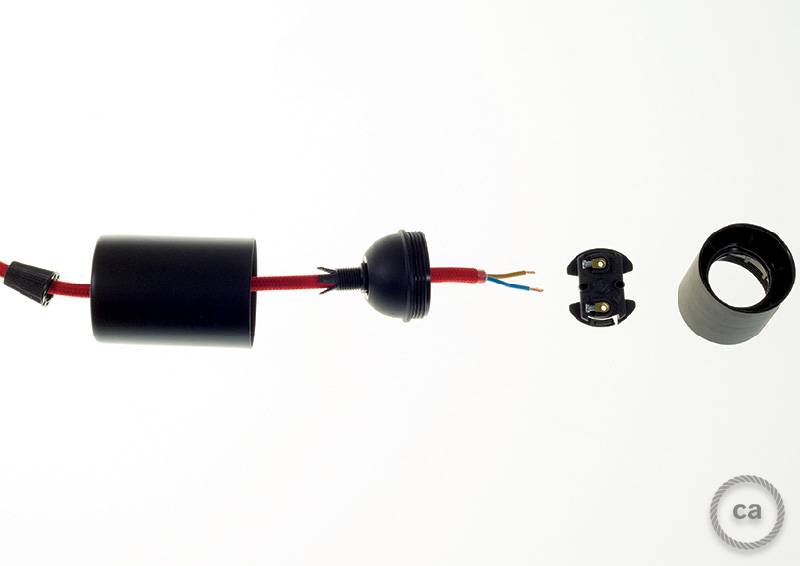
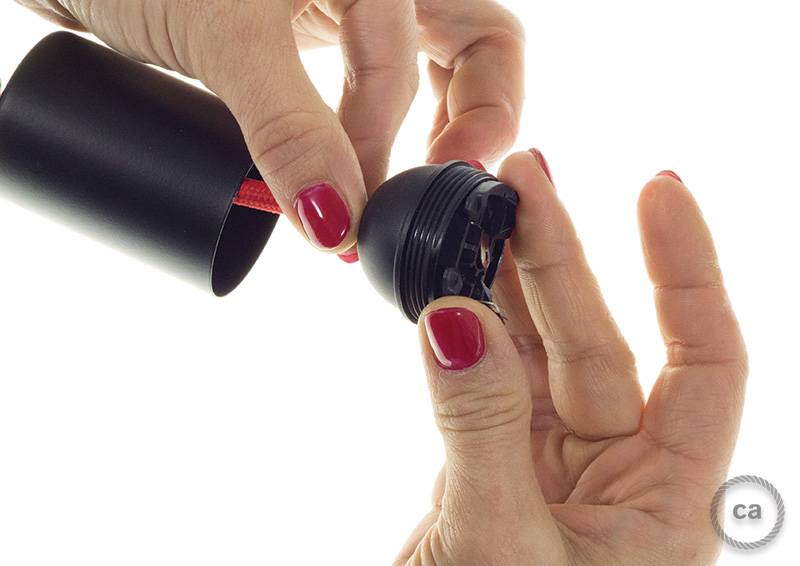
In our fifth tutorial, we will see how to fit the lampholder with a metal cylinder cap. The first thing to do is to disassemble the bulb socket, separating all of its components, as seen in the first photo. As we have already shown in the tutorial on how to connect a simple lampholder, once the cylindrical front of the lampholder and the separate cable retainer and metallic shortcut have been unscrewed, the back part bearing the mounted contacts will be exposed.
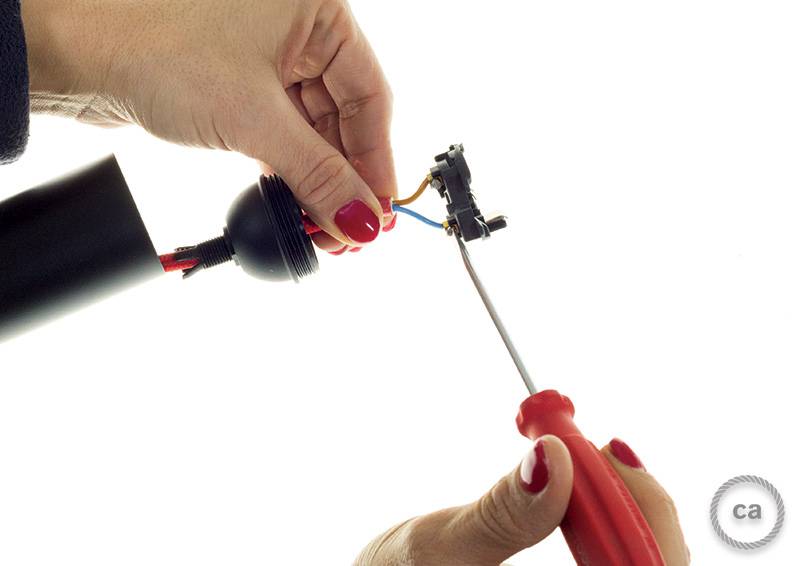
To separate the contacts from their compartment, unlock the anti-loosening mechanism, a system that prevents the top ring from unplugging when the bulb is removed. To do this, simply raise the metal tab inside it by using a screwdriver until it has passed the plastic block on the body of the lampholder. As always, for safety, complete all the operations in THE ABSENSE OF ANY ELECTRICAL CURRENT.
Now, insert the previously loosened cable (you remember how to unpeel a fabric cable, right?) into the cable retainer, in the hole of the metal cap and in the back of the bulb holder, in that order. Next, just thread the exposed copper filaments in the terminals and lock them in with a screwdriver.
Just like our cables, our lampholder kits are available in a wide variety of colours and materials: from classic ceramic to colourful silicone models, from Scandinavian wood to simple thermoplastic. The latter are particularly significant, as many kits are made up of an external object, and matched with an internal lamp holder of this kind. Understanding how to put together this type of lampholder is therefore important because it is a process that we can then apply to many different kits!
In our fifth tutorial, we will see how to fit the lampholder with a metal cylinder cap. The first thing to do is to disassemble the bulb socket, separating all of its components, as seen in the first photo. As we have already shown in the tutorial on how to connect a simple lampholder, once the cylindrical front of the lampholder and the separate cable retainer and metallic shortcut have been unscrewed, the back part bearing the mounted contacts will be exposed.
To separate the contacts from their compartment, unlock the anti-loosening mechanism, a system that prevents the top ring from unplugging when the bulb is removed. To do this, simply raise the metal tab inside it by using a screwdriver until it has passed the plastic block on the body of the lampholder. As always, for safety, complete all the operations in THE ABSENSE OF ANY ELECTRICAL CURRENT.
Now, insert the previously loosened cable (you remember how to unpeel a fabric cable, right?) into the cable retainer, in the hole of the metal cap and in the back of the bulb holder, in that order. Next, just thread the exposed copper filaments in the terminals and lock them in with a screwdriver.
Put the contacts back in their compartment in the back of the bulb holder and be careful not to trigger the anti-loosening mechanism: it will be enough to trigger the lock of the contact block by turning the part in the opposite direction from that to disassemble it. Screw in the smooth plastic cylinder and finish wiring the lampholder.
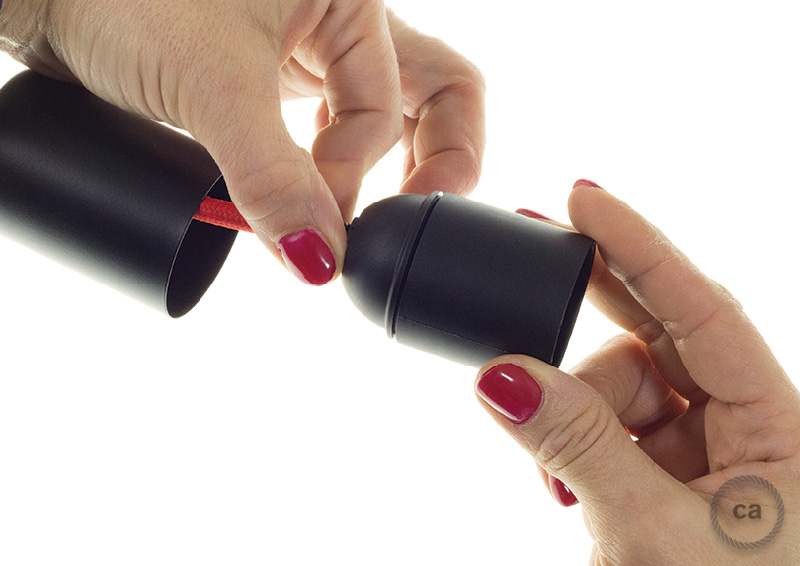
There is only one last task left: fit the outer metal cap! To do this, just insert the hole on the cap over the threaded part of the cable retainer, located on the back of the lampholder, and then screw over the outside of the cable retainer itself. This way the cap will stay firm and locked between the cable retainer and the lamp holder, and the fabric cable will not come undone!
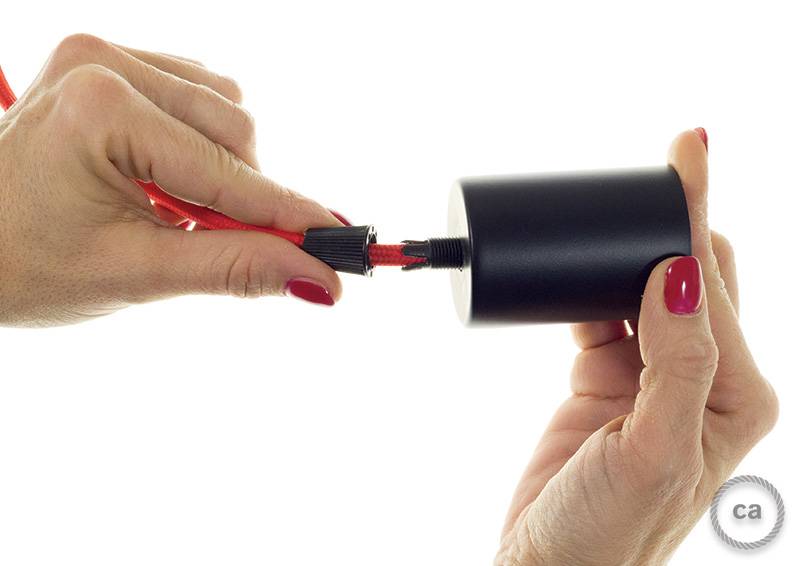
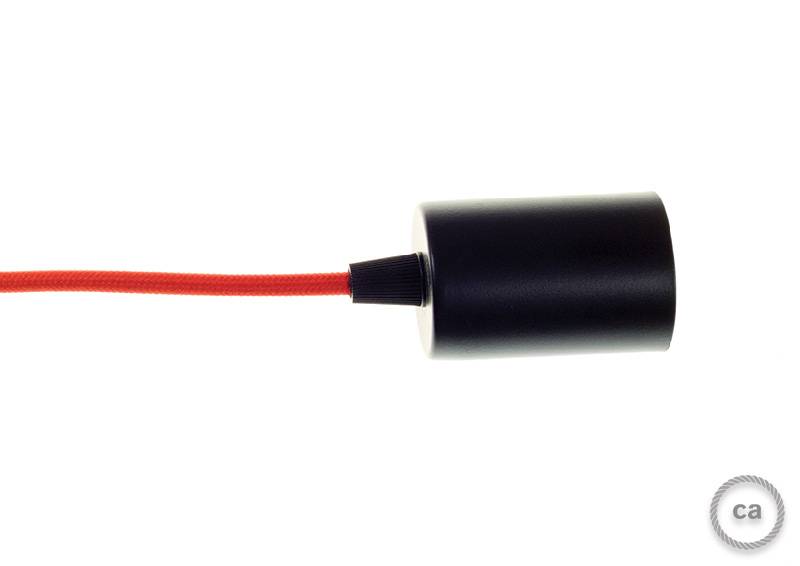
Lampholders with metal cap are not available only with plastic cylindrical cable retainer, as shown in the tutorial photos, but also with a cylindrical cable retainer. But have no fear: even for these, the procedure for mounting the lampholder kit will be the same. The only difference will be in how to tighten the cable retainer. We’ll illustrate how to do that in another tutorial!
All clear? Did you finish the job or were there any difficulties? Let us know in the comments, and, as always, let us know which tutorials you'd like to see next!
All clear? Did you finish the job or were there any difficulties? Let us know in the comments, and, as always, let us know which tutorials you'd like to see next!
